 CN
CN info@seacomould.com
 +86-18969612882
Corner treatment of mold parting surface for automotive mold design
2019-12-06
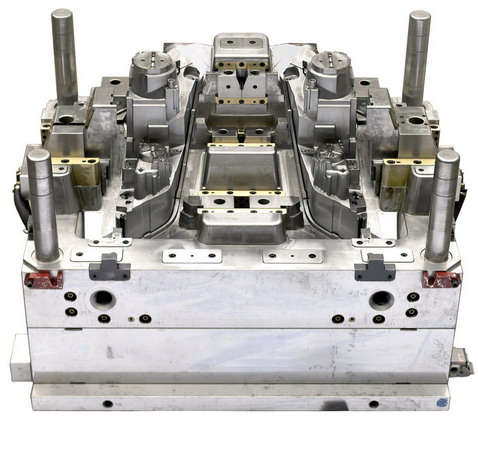
When many novices in mold design just mentioned automobile molds, the first idea was that they were difficult to make, and the molds were inseparable, or they could not be separated for processing. For automotive products, the difficulty of splitting the mold is nothing more than the position of the corner. As long as the position of the corner can be handled well, the car mold is nothing. Then I will share some of the processing techniques for the corner position of the parting surface of the automobile mold.
Automotive mold
1.Flat the product on the X-Y plane, insert-derived curve-extract, select the product, select the extracted contour curve, and extract the parting line
Handling Techniques for the Corner Position of the Car Mould Parting Surface in Car Mould Design
2. Handling Techniques at Corner 1
(1) The wrong way of handling, the parting surface drawn directly in the X axis has sharp corners
(2) Correct processing method: first set the coordinates at an angle of 45 °, then stretch it in the X axis, and use corner correction with extension and extension. The parting surface produced is not sharp.
3. Handling Techniques at Corner 2
(1) First use the stretch command to stretch the parting surface on both sides, leaving the position 2 at the corner.
(2) Bridge the curve, use the curve to make the mesh surface, and constrain the surface to be tangent, the resulting surface is smooth!
4. Handling Techniques at Corner 3
(1) First use the stretch command to stretch the parting surface on both sides, leaving 3 at the corner.
(2) Corner 3 is relatively smooth, and it can be made with bridging surfaces.
5.Handling skills at corner 4;
(1) Corner 4 is treated the same way as corner 1. If there is a sharp corner when directly stretched, the coordinates must first be placed at an angle of 45 °, and then stretched in the X axis
(2) Corner treatment with modification and extension, and finally get parting surface

Related Products
Latest Updated
- China automotive mold manufacturing is facing the development trend of 2025
- The major development trend of automotive mould technology
- How to find a good automotive mould supplier and manufacturer in China
- How to make the injection plastic mould gate design
- The most likely defects in the mold injection molding process
- Injection mold repair steps and precautions
- Auto mould making-automould injection moulding company
- How to choose plastic mould supplier in Taizhou China
Relative Articles
- How to make the injection plastic mould gate design
- What should you pay attention to when designing injection molds
- Why does the bumper mold adopt the internal fractal structure design
- Key points of plastic mold design
- Design and development of medical equipment and product molds
- Design of Multi-cavity Injection Bottle Cap Mould
- Considerations for the design of plastic bottle cap moulds
- Structural design of beverage bottle cap mold
- Leak-proof design of bottle cap mould
- What are the structural elements to be considered in plastic mold design
Hot Articles
- Mold plating chrome treatment technology is good for mold life
- Analysis of the causes of the fusion line of plastic mold products and corresponding improvement measures
- what are the common problem in the plastic mould injection process
- Leak-proof design of bottle cap mould
- What performance requirements should be met when selecting steel for injection mold
- When Huangyan Mold factory come back to work after coronavirus
- Coronavirus China Wuhan
- How to check the test of the injection mould
- How to choose plastic mould supplier in Taizhou China
- What principles should be followed in the design and development of bumpers mould
- Bottle cap mold manufacturing process
- Six standards for testing the quality of antifreeze bucket mould
Hot tags: china mold maker,taizhou,huangyan, suppliers, manufacturers, factory, maker,customized


